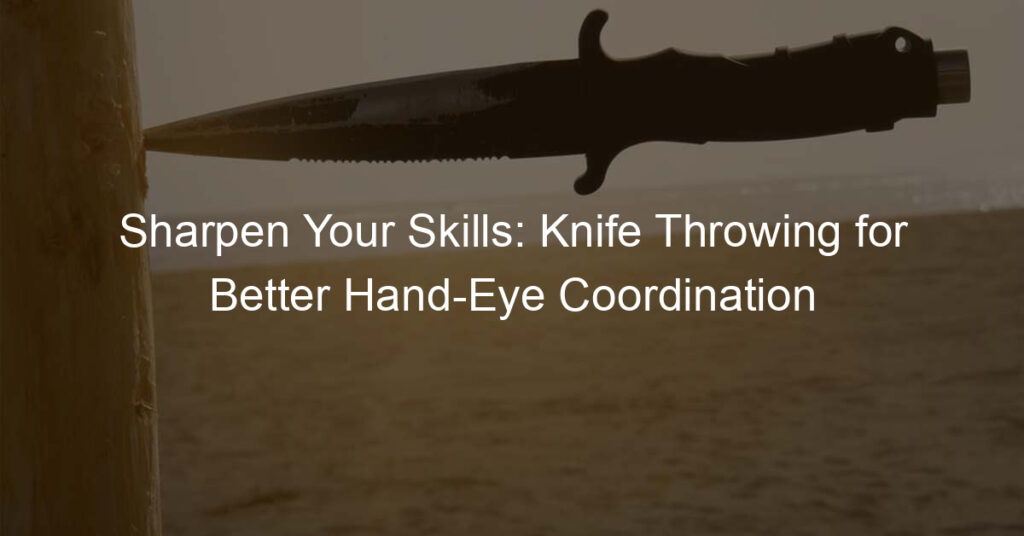
When we mention knife throwing techniques, some people may think of it as a dangerous activity. However, this hobby has been there for ancient times, and it’s regaining popularity.
With the right skills, the activity becomes enjoyable. Beginners shouldn’t worry too much about perfection. The aim here is to develop consistency in the throw.
There are different knife throwing techniques, and the sooner you begin the practice, the earlier you will fall in love with a specific one. It feels good when your knife hits the target after many trials.
Stick on as we check out the tips, types, and basics of knife throwing.
Knife Throwing Techniques: The Basics
Safety is key in knife throwing, and having a hard pair of shoes will save your feet from injury just in case the knife slips from your hands. It’s also important to check the surroundings and ensure no people or pets are running around.
Notify your neighbors of the activity you are about to undertake.
Stand straight for a more accurate throw. Your thumb should be at the top, and the other fingers shouldn’t be at your throwing trajectory.
5 Steps in Developing the Best Knife Throwing Techniques
1. Choose a Knife
Before we get to the techniques, let’s check the basic knives for throwing. An ideal throwing knife should be thick enough to prevent bending of the tip, weigh at least 200 grams to increase accuracy, and have rounded corners to increase safety.
PRO TIP: Perforated knives can break more easily than solid ones, so you should settle for a knife with no or minimal perforations to avoid shattering.
Balanced Knife
As a beginner, this is the best type of knife for you with its center of gravity in the middle. It’s possible to throw it from the handle or blade side. You can also predict the rotations with this one.
Handle Heavy Knife
This unbalanced knife may feel bulky on the handle, and you must throw it in a way that the handle will go first. It may be hard for beginners to use this knife since you must hold the blade side while throwing it.
Blade Heavy Knife
As the name suggests, the knife feels heavier on the blade than on the handle. At first, you may find them confusing by trying to hold the handle and throw the heavier side first, whereas it should be vice versa. The best part is it’s easier to learn to throw this knife since it uses the hammer technique.
2. Grip the Knife
There are several styles of gripping the knife, and experienced throwers tend to develop theirs with time. We have two grips that beginners should check out and consider depending on the type of knife they choose.
Hammer Grip
Hold the knife like you would hold the hammer wrapping your four fingers on the handle with the thumb at the top. It’s the most common type of grip, the easiest to adapt, and the most efficient when you want to learn to throw a double-edged blade.
Pinch Grip
For a single-edge knife, start by stretching your palm in front and creating a space between your thumb and the fleshy part, and the handle should be pointing away from you.
The knife tip will line up with your thumbs and fold the bottom with the other fingers except for the pinky one on the other side of the blade, which allows you to pinch the blade without pressing the sharpened edge or the sharp point.
When you have a double-edge knife, hold it so that the handle is pointing away, and your thumb holds one side of the blade with the three fingers tips on the other. If you are looking forward to a powerful throw, this grip isn’t a great idea, especially if you haven’t mastered the art, stick to the hammer grip.
3. Angle the Knife
It’s time to angle your knife in a position that will guarantee the super throw. The angle determines the rapidness of the flip in the air, and you should adjust it depending on your distance from the target.
As you adjust your distance, keep in mind that they can be subjective to the grip. For instance, if you hold the knife by the tip, it needs to flip at least one and a half times to land with the point first, whereas a knife held on the handle needs at least one turnover.
Here are the different ranges you can adjust to depending on your grip.
Close Range: Bend your wrist to the forearm allowing the knife to turn over in air very fast since it has a shorter distance to cover between you and the target.
Medium Range: You need a slight bend of your wrist to the forearm to increase the speed of the knife turn over with minimal space between you and the target.
Long Range: Don’t bend the wrist to prevent too much turnover of the knife in the air since it has a long distance to cover to reach the target.
4. Choose the Target
Not every target is good or knife throwing. You need a thick one to prevent the knife from penetrating, and it should be soft enough for easier sliding. A target made from softwood is the most preferred one.
PRO TIP: Go for a softwood target like pine, birch, or willow, which will help you count your paces when it’s stationary. Plus, you can use the distance for reference. Cereal boxes or cardboards are great for target practice and will help you determine the accuracy.
5. Make the Throw
With the above knife throwing tips, it’s time to make your throw. Ensure that your dominant arm is in front and perpendicular to the ground, plus bending your elbow allows the knife to raise alongside your head. Make the proper stance by pacing your weight on the dominant leg and resting the other in front of you.
In the comfortable position, release the knife, and if it’s angled upwards, move your wrist along as you finish the swing.
IMPORTANT: Consider the Kunai knife throwing techniques that involve a complete rotation with hands stretched at the front, maintaining the horizontal position throughout the throwing process not to mention the strong kunai knives that will help you make a step towards accuracy.
Key Takeaway
In knife throwing, you swing your hand straight and ensure the knife doesn’t hit an angle, and you can prevent cross swinging by acting like you are chopping a piece of wood. Continue practicing the swinging motion until you gain consistency.
As the knife slips off your hand, the weight shift will angle your entire body with your arm swinging downwards, and the knife will stick horizontally on the target.
Types of Throws
1. Half Spin
It’s good to start your throw with simple steps, and the half spin throw will usher you to perfect knife throwing techniques for beginners. With the right distance from your target, you can make your throw.
The knife throwing trick here is to master accuracy in the rotation. If your knife doesn’t stick to the target, check whether it’s sharp and use a soft target.
Consider the military knife throwing technique that involves half spin. It’s also known as thumb half spin. The aim, pull back and release your knife to the target.
2. One Spin (full spin)
To proceed to this level after some practice with the half spin, you need more precision on the grip and stance for correct throwing.
Pro Tip: Adjust your throwing distance until you find a comfortable spot to throw the knife.
Relax, focus, and keep the stance as you throw the knife with a little more precision than the half spin throw.
3. Advanced throws
Advanced throws involve more spins or knife throwing techniques with no spin. With Valentine’s distance formula, we can get up to seven spins.
In the no spin technique, there’s no knife rotation, and it’s practical in short distances plus, the knife will slash anything that comes its way since it doesn’t spin.
Key Takeaway
Cleaning your blade after the throwing session is important in removing oil traces from your hands or the target that can degrade the metal and cause rusting.
What is the Secret to Knife Throwing?
There are many knife throwing tips and tricks for a successful and fulfilling throw, but consistency is key. It involves releasing the knife in the same way and position every time. Once you get the accuracy, it’s easier to find other comfortable spots and advance your throws.
What is the Distance for Knife Throwing?
The distance depends on the knife and the type of throw you are about to make. For half spins, a throw from 7-8 feet is okay, while the one spin (handle grip) needs a throwing distance between 12 to 15 feet, and for advanced throws, keep a distance of 18 to 19 feet.
How Long Does it Take to Get Good at Knife Throwing?
Your consistency and practice are the key determinants of how long it will take to master the skill. If you stick to practicing for 6 hours a week or more, it will take you around 6 months.
How Far Can You Throw a Knife Without Spin?
The expert level is 18 feet with no spin. It is not an easy level, and you might find yourself switching to the half spin after many trials.
Final Thoughts
Knife throwing is an enjoyable activity, especially when you master accuracy. Don’t use too much force in your throwing. Work on the rotation, and everything will fall in place. Use the rule of thumb when making rotations where one pace equals a half rotation.
Start with the half spin to the full spin and eventually to more advanced throws. All the best as you begin to venture into knife throwing.